- Start Collect and Zip from the Windows® Start menu.
- Enter your company name and describe the issue in the box.
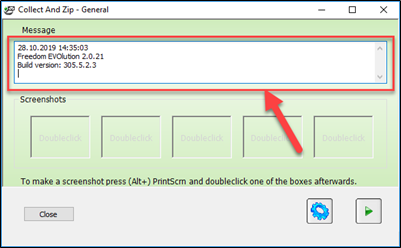
- Add up to five screenshots by pressing (Alt+) PrintScrn on your keyboard and then double-clicking one of the boxes.

- Click the green arrow to confirm the selection.
![]()
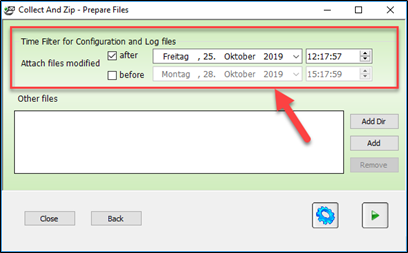
- Choose the date and time of the incident plus the two days before to attach the corresponding log files.
- Optionally, add other files by clicking the “Add Dir” or “Add” button, or drag and drop the files into the box.
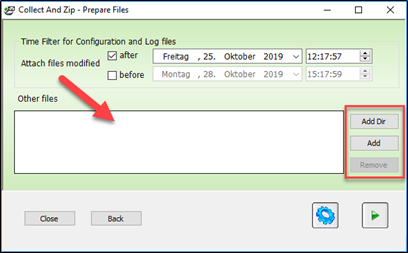
- Click the green arrow to confirm the selection.
![]()
- Select the relevant configuration. The current configuration is selected by default.
- Leave all attachments selected (default setting).
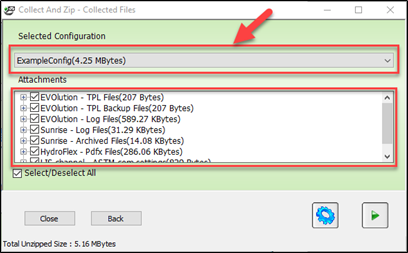
- Click the green arrow to confirm the selection.
![]()
- Optionally, in the “Copy Zip File” box, change the path for saving the zip file from the default setting.
- Optionally, in the “Send Mail” box, enter the email address that should receive the zip files (e.g., Tecan helpdesk).
- If no email address is entered, the files will only be zipped and saved.
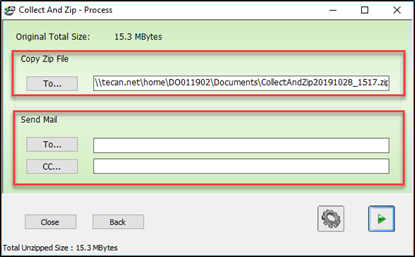
- Click the green arrow to collect the files.
![]()
- Recover the Collect and Zip file from the specified location.
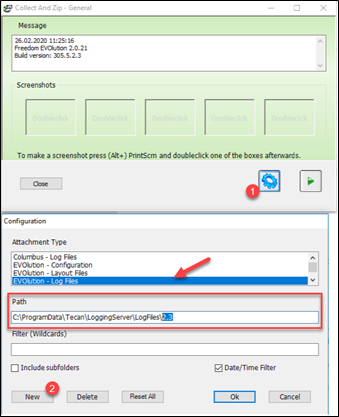
- Note: If the log files were saved to another directory and the automatic path collector could not find that path, change the settings using the configuration settings button (1).
- Select the attachment type and modify the path.
- Alternatively, add a new attachment by clicking the “New” button (2).
Next steps:
- Note your serial number. Where can I find my serial number?
- Create a service request.
Link to Tecan Product Page:
401814-001