LabOps Job TableView
The LabOps Job Table View provides a complete view of all requests and jobs created and completed in LabNavigator and a way to bulk manage jobs.

View requests and jobs
Click the "Jobs" button to access the entire history of requests and jobs. In this view, you can see the following details in a table format:
- Name - Text field for the name of the job
- State - Select by job state
- Date Created - Select a date range for when the job was created
- Created by - Select the user who created the job
- Start Time - Select a date range for when the job started to run
- Estimated Start Time - Select a date range for the expected start time for a scheduled job
- Last Updated - Select a date range for when the last time a job state or an action updated
- End time - Select a date range for when the job was completed or canceled
- Estimated End Time - Select a date range for when the scheduler expects the job to run. These times may not be exact.
To add or remove columns, click the three dots on the far right to select the viewable columns (max of 7).
Filter Options

- The "Quick search jobs" text field allows you to search by job name.
- Clicking "Filters" opens a panel where you can add multiple filters, save a filtered view, and use a saved filter view.
- To add or remove filter options, click the three dots on the top right corner of the table.
- Click the funnel icon on each column to make your filter selection.
Bulk Manage Jobs

In the Table View, you can pause, resume, cancel, unschedule, or delete a set of jobs. To do this, you:
- Individually select a group of jobs or select all jobs on the page
- click "Actions," and a window will appear with acceptable actions
- Select the action
Learn more about these actions here.
LabOps Job Panel View
To get a more granular view of your job, click on a job's row in either the LabOps mini job panel view or LabOps table view.

The job panel will provide the current job state, current action (or the Assistant banner if Assistance is needed), and job actions.
Below this, there are four main sections:
- Activity - includes the current and past activity of the job, including details about Assistants, Errors, and more.
- Details - includes information about the creation of the job
- Results - includes any files generated and collected by the Workflow.
- Notes - includes a field for notes and a record of all notes.
Activity
The activity section will show:
- Activity: an overview of all the workflow steps that have occurred with the current step the job is on
- Assistants: List of Assistants that have been completed and any data that may have been gathered
- Errors: a log of errors that occurred during runtime
The activity timeline will also show you essential information like if someone paused the job, retried the job, and key time stamps of actions. Icons that you may see are:

Details
The details section includes:
- Created by: who created the job, or if it is a spawned job, the parent job from which it spawned from
- Batched Requests: the requests that were batched to create and run this job
- Request Parameters: details about the request, such as request owner
- Configuration: workflow parameters and their values
Results
Any files generated during job runtime will be viewable and downloadable from here.
Notes
A field to gather notes about the job and show a running record of notes taken.
Manage Jobs

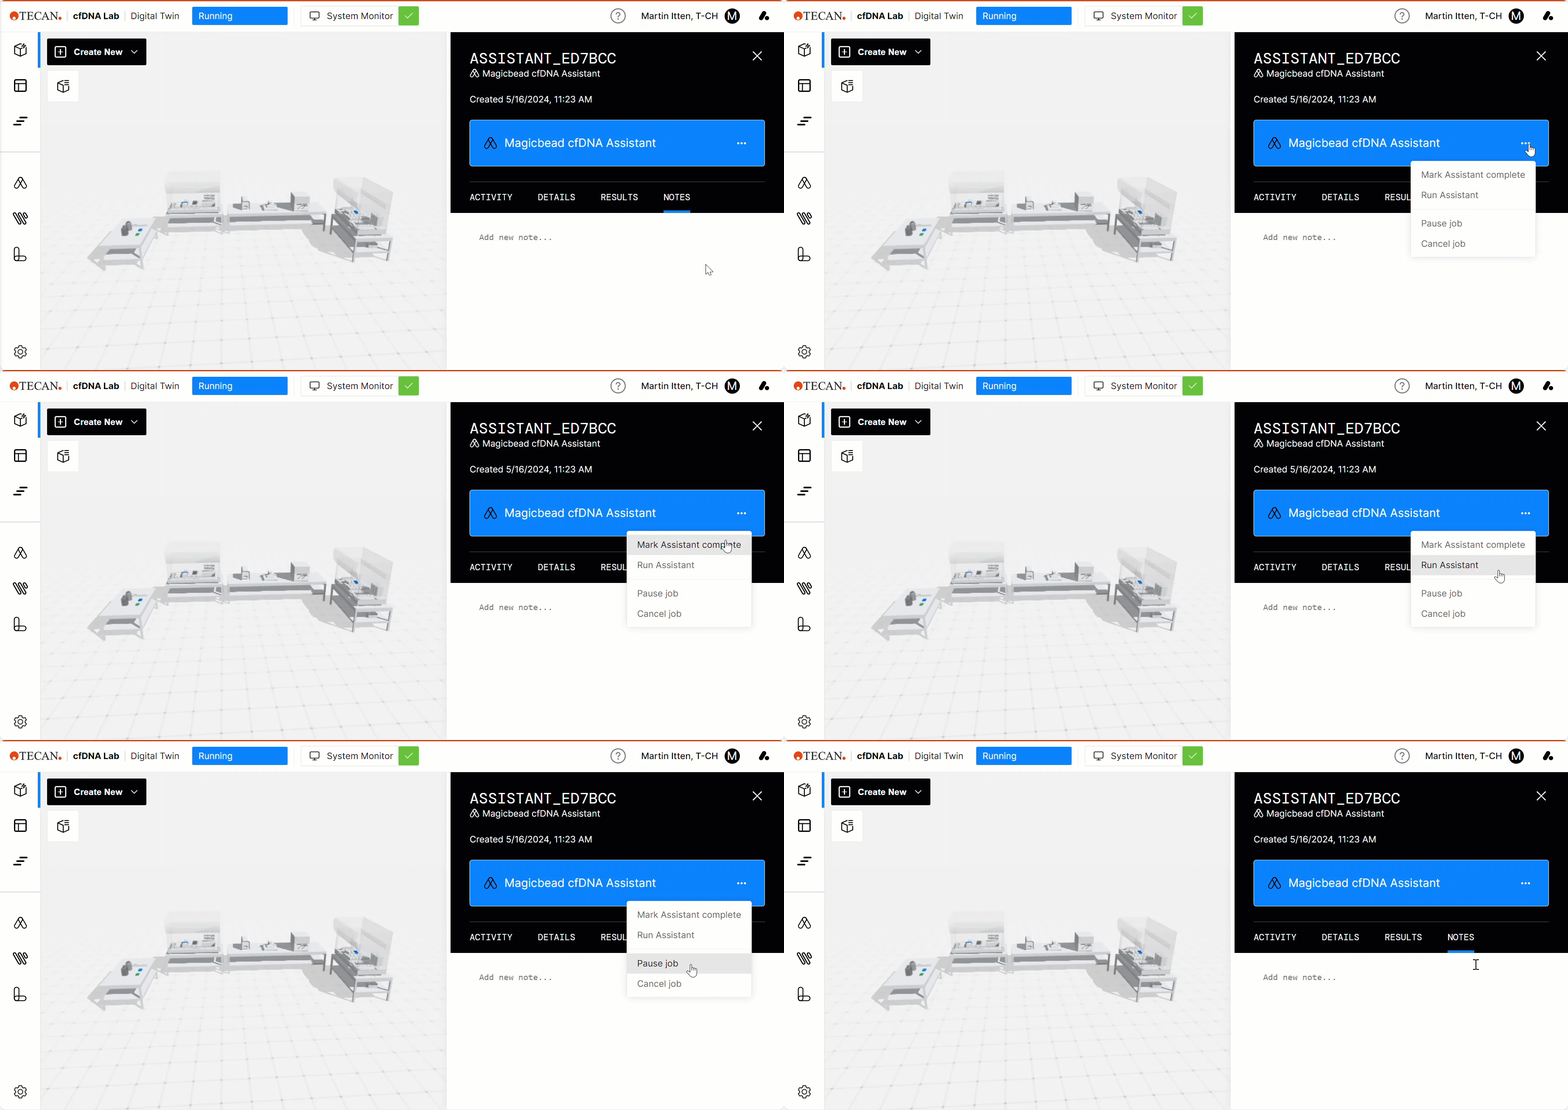
Depending on the state of the job, you can take specific actions on jobs. To do so, click on the three dots next to the current Workflow action to see the available compatible options.
Options include:
- Pause: Pause a running job in its current state
- Resume: Resume a paused job
- Cancel: Abort a job at its current step to prevent it from continuing - this is an irreversible action.
- Retry Action: Try to re-run an action that is in error - this is only accessible when a job is in error.
- Skip Action: Skip an action that is in error - this is only accessible when a job is in error.
- Unschedule: Puts a running job into a pending state - the job can be rescheduled to run from the beginning of the Workflow and should only be used in rare cases.
- Delete: This only applies to requests (pending jobs) that can be removed from the system.
You can also take action on multiple jobs in the LabOps Table View.
Further help
For further help, please refer to our Helpdesk.
Link to Tecan Product Page
402981-004
